Unicorn Back to School Stickers Clock: A Versatile Design Asset for Your Projects
Design assets that serve multiple purposes and fit into real workflows are rare. The Unicorn Back to School Stickers Clock is one such resource. Whether you are a teacher preparing classroom materials, a small business owner creating merchandise, a blogger building a brand, or a parent organizing school supplies, this design gives you a ready-to-use visual that combines the whimsy of unicorns with practical school themes. It comes in multiple formats — AI, SVG, transparent PNG, JPG, and EPS — each at a canvas size of 1575 px × 1050 px. That size is large enough for print products like posters and tote bags, yet flexible enough for digital use in social media graphics or sticker sheets.
Understanding what the design is and where it fits in your process helps you get the most from it. This article explains how to integrate the Unicorn Back to School Stickers Clock into your creative, professional, or personal workflows. We will cover preparation, compatibility, practical use cases, and tips for long-term reuse — all without the usual hype or filler.
What Is the Unicorn Back to School Stickers Clock?
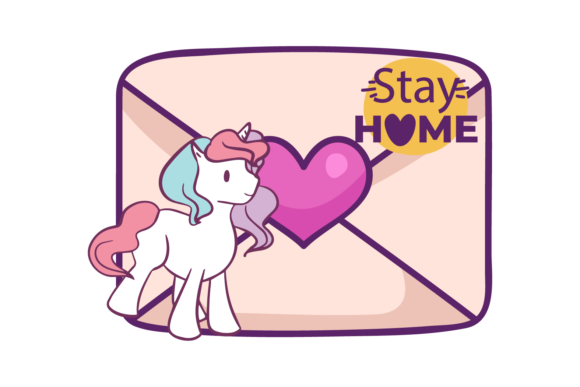
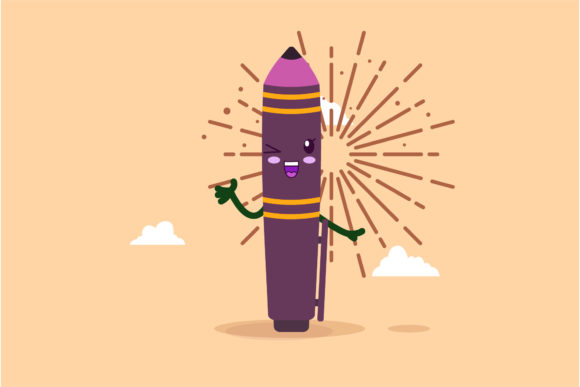
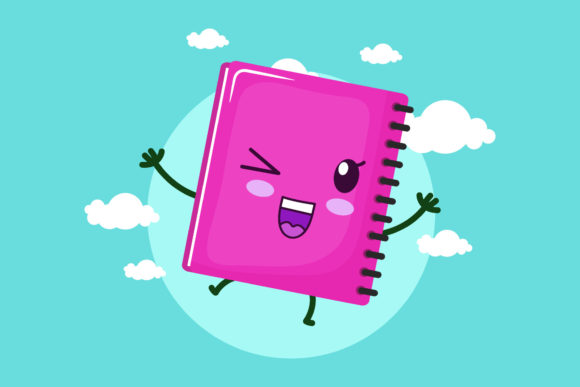
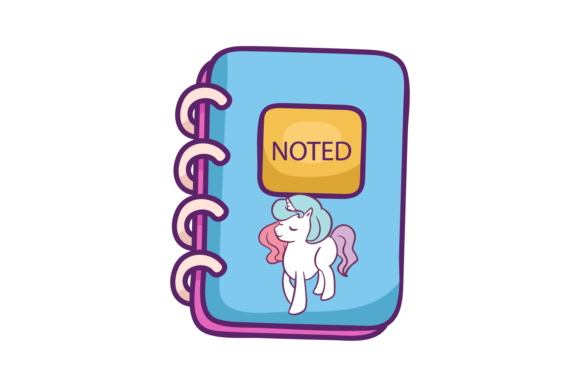
The design features a clock motif combined with unicorn elements and back-to-school imagery — such as books, pencils, or school buses. It is not a literal clock sticker but a composite artwork that can be used as a stand-alone graphic, part of a sticker set, a shirt print, or any other surface. By receiving the design in five file formats, you gain the flexibility to edit, scale, and adapt it for both print and digital channels.
For example, the SVG and AI files allow you to change colors, remove backgrounds, or resize without losing quality. The EPS file works with professional design software like Adobe Illustrator or CorelDRAW. The transparent PNG is ideal for quick use in presentations, social media, or layered projects. The JPG serves as a ready-to-print base image for mockups or physical products.
Where This Design Fits in a Broader Process
In any project — whether it is launching a small product line, designing a classroom incentive system, or creating marketing materials for a school event — you need assets that are easy to customize and quick to deploy. The Unicorn Back to School Stickers Clock works at multiple stages:
Before the Project: Planning and Preparation
If you are planning a back-to-school campaign or a personal crafting session, this design can serve as a central theme. List out all the outputs you need: sticker sheets, tote bags, greeting cards, and social media headers. With a single source file, you can create a consistent look across all items. The canvas size (1575 px × 1050 px) is a good starting point for print — you can scale down for smaller items or up for posters while keeping the proportions.
During the planning phase, you can open the AI or EPS file, check the layers, and decide which elements to keep or modify. This saves you from starting from scratch. Many users find that having a base design reduces the time spent on layout and color selection, letting them focus on the finer details of their project.
During the Project: Creation and Customization
As you move into production, the flexibility of the file formats becomes critical. If you are printing shirts, you might want to isolate the clock and unicorn graphic using the SVG or PNG (transparent background) to avoid white boxes. For stickers, you can duplicate the design across a sheet in your chosen software — the AI file makes this effortless because you can edit the artboard and export multiple copies.
For educators, the design can be used to create classroom schedules, reward charts, or name tags. Open the EPS in a vector editor, resize the elements, and print them on cardstock. The clock motif is especially useful for teaching time-telling or organizing daily routines.
Entrepreneurs selling on print-on-demand platforms can upload the PNG directly to mockup generators. Because the canvas is 1575 px × 1050 px, it fits many standard product templates (e.g., square tote bags, rectangular posters, or A5 cards). The JPG version works well for quick previews before final production.
After the Project: Quality Control and Long‑Term Use
After you have printed your stickers or uploaded your designs, you can archive the source files for future seasons. The design is not tied to a single year; you can update text (if any) or recolour the unicorn for different school years. Keep the AI and EPS files in your digital library as part of a reusable asset collection. The transparent PNG is also handy for overlays in future projects — for example, a new header image for a blog post about “Back-to-School Organization with Unicorn Themes.”
Quality control is easier when you have editable vectors. Check the resolution before printing: the 1575 px × 1050 px canvas at 300 DPI is about 5 × 3.3 inches, suitable for many items. For larger prints (e.g., a poster 24 × 36 inches), you can scale the vector formats without pixelation — something raster images do not allow.
Practical Implementation Tips and Workflow Examples
To integrate the Unicorn Back to School Stickers Clock smoothly into your own work, consider these approaches based on different roles:
For Small Business Owners and Print‑on‑Demand Sellers
- Use the transparent PNG for fast mockups. Drag it over a product template in Canva or Photoshop to see how it looks on a shirt or tote bag. The transparent layer eliminates the need for background removal.
- Edit the AI or EPS file to add your brand name or small logo in a discreet corner. This associates the design with your shop while keeping the core artwork intact.
- Export multiple color variants from the vector file. Offer the same design in pastel, bright, or monochrome palettes to appeal to different buyers without recreating the artwork.
For Educators and Parents
- Prepare sticker sheets in advance. Open the SVG in a free vector tool like Inkscape, duplicate the design onto a standard sheet size (e.g., A4 or letter), and print on sticker paper. The clock motif helps children associate time with school activities.
- Use the JPG version to create a class schedule poster. Print it on a large format and fill in the times with a marker or overlay text in a word processor. The unicorn theme adds a friendly tone to the classroom.
- Combine the PNG with other assets — for example, overlay the design onto a morning routine chart. The transparent background lets you place it anywhere.
For Bloggers and Content Creators
- Feature the design in a back-to-school gift guide or crafting tutorial. Use the PNG as a featured image or social media square. Because the canvas is 1575 × 1050, it already has a 3:2 aspect ratio — close to many blog thumbnail dimensions.
- Create a digital sticker pack for your audience. Export the vector as SVGs for web use, or turn the PNG into individual stickers using a simple slicing tool. The design can be a freebie download when readers sign up for your newsletter.
- Share your customization process as a workflow example. Show how you opened the AI file, changed the colors, and reused the design across a shirt, a tote bag, and a social post. This builds trust with your audience and demonstrates the value of the asset.
Compatibility with Tools, Platforms, and Other Methods
The Unicorn Back to School Stickers Clock interacts well with common design and production tools. Here is how it fits into different environments:
- Vector editors: Adobe Illustrator (AI, EPS, SVG), CorelDRAW (EPS, AI), Inkscape (SVG, EPS), and Affinity Designer (AI import). Open the file, lock the background layer if needed, and edit selective elements.
- Raster editors: Adobe Photoshop, GIMP, or Procreate can open the PNG or JPG. Use the PNG for layers; scale it using nearest neighbor to maintain crisp edges on the clock hands.
- Printing services: Most print‑on‑demand platforms accept PNG or JPG up to 150 MB. The 1575 × 1050 resolution is appropriate for items up to about 5 × 3.5 inches at 300 DPI. For larger prints, you can upscale the vector formats in your software before exporting a high‑resolution PNG.
- Web and social media: The SVG works directly in HTML for responsive web graphics. The PNG is ready for Twitter cards, Pinterest pins, or Instagram stories when cropped to a square (use the central portion).
If you work with physical mockups (e.g., a folded card or a tote bag template), you can place the design on a separate layer, apply clipping masks, and adjust the transparency. The vector formats let you rotate or warp the design to match angled views — something that is much harder with a JPG.
Organizing and Reusing the Files Long‑Term
Once you have downloaded the five formats, consider how to organize them for efficient reuse:
- Keep the AI and EPS files in an “Editable Sources” folder. These are your master files. If you ever need to change a color or remove an element, use these.
- Store the SVG and transparent PNG in a “Web & Digital” folder. They are lightweight and ready for drag‑and‑drop use in browsers or presentation tools.
- Put the JPG in a “Prints” folder as a reference version. It is also useful for quick thumbnails or low‑resolution drafts before opening the full vector file.
For consistency across projects, create a naming convention: “unicorn-back-to-school-clock_
Usability and Efficiency Considerations
One of the strongest aspects of this design is how it balances flexibility with simplicity. You do not need advanced design skills to use the PNG or JPG, but the AI and EPS give advanced users full control. If you are new to vector editing, start with the SVG in a web‑based tool like Figma or Vectr — you can change fill colors without worrying about layers. The canvas size is consistent across all formats, so you never have to re‑center or re‑crop when switching from one file to another.
Efficiency also comes from the fact that you can treat this design as a system. Instead of creating a separate graphic for each product (shirt, sticker, tote bag), you reuse the same base. This reduces decision fatigue and accelerates your output. For example, a small business owner can schedule one afternoon to produce ten product mockups by opening the PNG in Canva, changing the background color, and applying it to different templates — no need to re‑draw anything.
Observations on Consistency and Quality Control
Maintaining consistency across different mediums is often challenging when you use different assets for each format. With this single design, the colors, proportions, and style remain identical whether you print a sticker or display it on a screen. The only variable is the output medium itself — plastic, fabric, paper, or digital. To ensure quality, test the design at actual print size using the vector formats. Print a small sample and check that fine details (like clock hands or unicorn horn lines) are visible. If they are too thin, you can thicken them in the AI or EPS file before batch production.
For digital use, preview the transparent PNG on different background colors to ensure it works with both light and dark themes. The original design likely has a white or light background in the JPG, but the PNG isolates the unicorn and clock. If any edges appear rough, you can open the SVG and refine the anchor points — a quick fix that avoids loss of quality.
Over time, this design can become a core asset in your creative library. It is specific enough for back‑to‑school projects but generic enough to blend with other unicorn or fantasy themes. Whether you are a teacher, a creator on Etsy, a marketer designing school‑related ads, or a parent organizing a planner, the Unicorn Back to School Stickers Clock provides a reliable starting point that adapts to your workflow — without unnecessary complexity. Download the files, pick the format that fits your current step, and modify as needed. That is the essence of practical design use: having the right asset ready when you need it, and knowing exactly how to deploy it.